
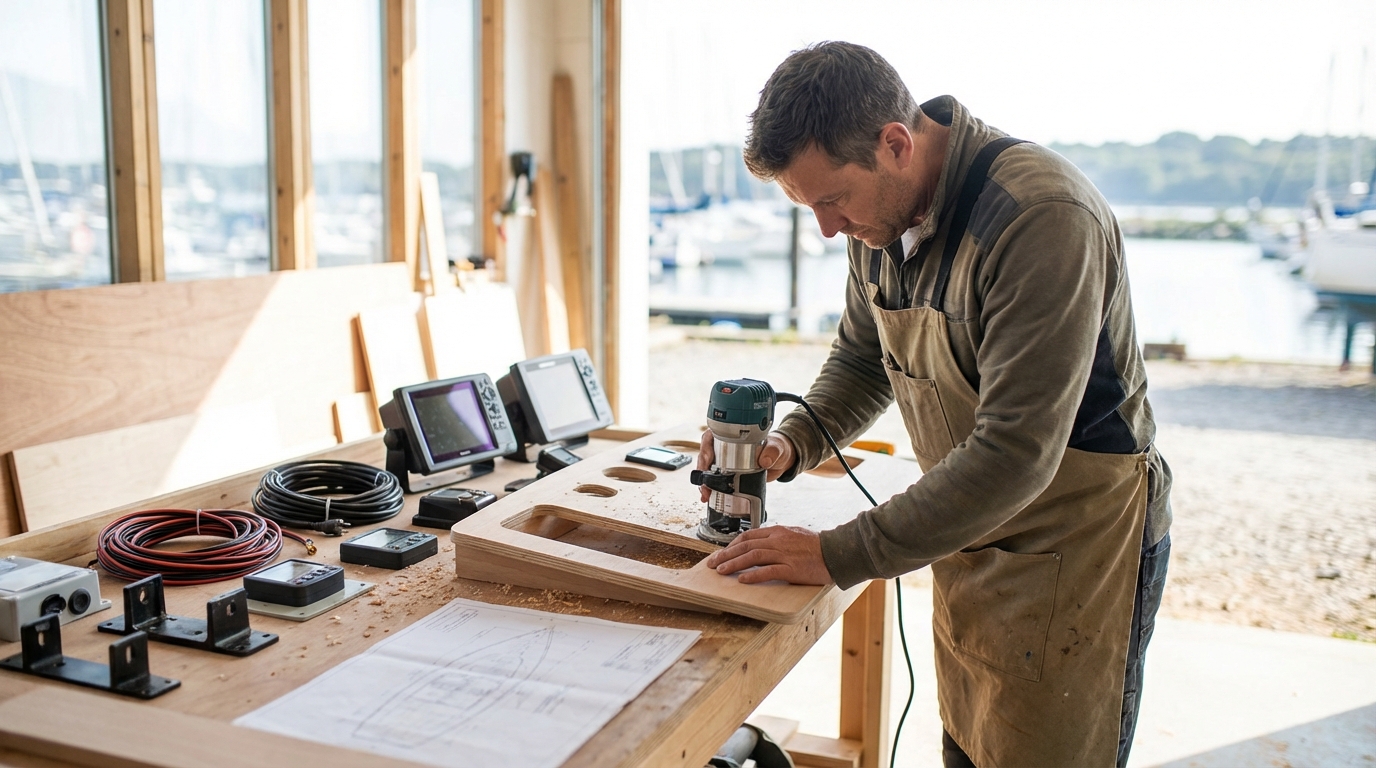
To install a VHF marine radio, you must mount the unit in an accessible location, connect it to a fused 12-volt DC power source, and route a coaxial cable to a high-mounted antenna. This process ensures your vessel maintains a reliable communication link for daily operations and emergency distress signals. Whether you’re navigating through busy channels or enjoying a peaceful day on the lake, a fixed-mount VHF radio serves as your most critical safety tool.
Key Takeaways
- Location matters: Mount your radio where you can reach the controls and see the display while operating the helm.
- Power needs: Always use marine-grade tinned copper wire and a dedicated fuse to prevent electrical fires and voltage drops.
- Antenna height: Height is the most important factor for VHF range because these signals operate on a line-of-sight basis.
- Signal integrity: Proper soldering or high-quality crimping of the PL-259 connector prevents signal loss and moisture intrusion.
- Safety features: You must connect a GPS source and program an MMSI number to enable the Digital Selective Calling (DSC) distress button.
- Testing is vital: Use an SWR meter to verify your antenna system is broadcasting efficiently before heading offshore.
Selecting the Ideal Mounting Location for Accessibility and Protection
Choosing the right mounting location for your VHF radio ensures both ease of access during emergencies and protection from environmental damage. You should prioritize a spot that allows you to view the screen clearly without straining, even in direct sunlight. Most boaters choose between a flush mount in the dashboard or a bracket mount on top of the console or overhead electronics box.
Marine VHF Radio Installation

Uniden UM385BK 25 Watt Fixed Mount Marine VHF Radio, Waterproof, Noaa Weather Alert, All USA/Intl/Canadian Marine Channels
Uniden UM385BK 25 Watt Fixed Mount Marine VHF Radio, Waterproof, Noaa Weather…
VIEW LATEST PRICE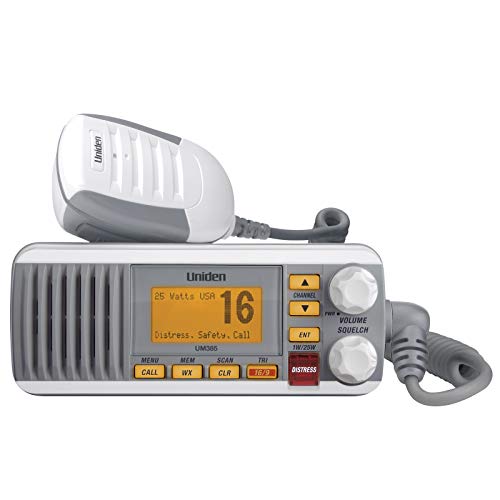
Uniden UM385 25 Watt Fixed Mount Marine Vhf Radio, Waterproof IPX4 with Triple Watch, Dsc, Emergency/Noaa Weather Alert, All Usa/International/Canadian Marine Channels, Memory Channel Scan, White
Uniden UM385 25 Watt Fixed Mount Marine Vhf Radio, Waterproof IPX4 with…
VIEW LATEST PRICE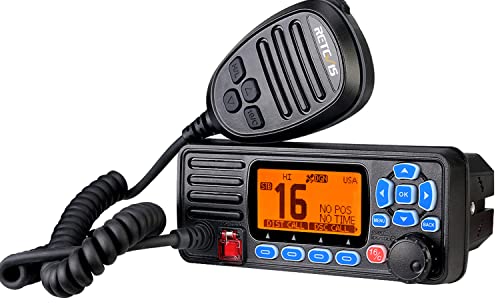
Retevis RA27 Fixed Mount Marine Radio with GPS and DSC, IP67 Waterproof, Long Range, Emergency NOAA Weather, All International/US/CA Marine Channels, Triple Watch, Ship to Shore Radio for Boats, Black
Retevis RA27 Fixed Mount Marine Radio with GPS and DSC, IP67 Waterproof,…
VIEW LATEST PRICEIf you choose a flush-mount installation, ensure there is at least six inches of clearance behind the panel for wiring and ventilation. Bracket mounts offer more flexibility for angling the radio toward the captain, but they expose the rear of the unit to more moisture.
| Location Type | Pros | Cons |
|---|---|---|
| Flush Mount | Clean look, protects rear wiring, saves space. | Harder to reach back for repairs, permanent hole in dash. |
| Bracket Mount | Adjustable viewing angle, easier to remove for storage. | Takes up dash space, wires are exposed to view. |
| Overhead Box | Keeps radio dry, clears dash space. | Can be harder to reach, requires longer wiring runs. |
When positioning the radio, keep it at least three feet away from your magnetic compass. The internal speakers and electronics of a VHF radio can cause significant deviation in a compass reading. Before you drill any holes, hold the radio in its intended spot and move it around to check for interference with the steering wheel or throttle levers.
Preparing the Dashboard and Cutting Mounting Holes
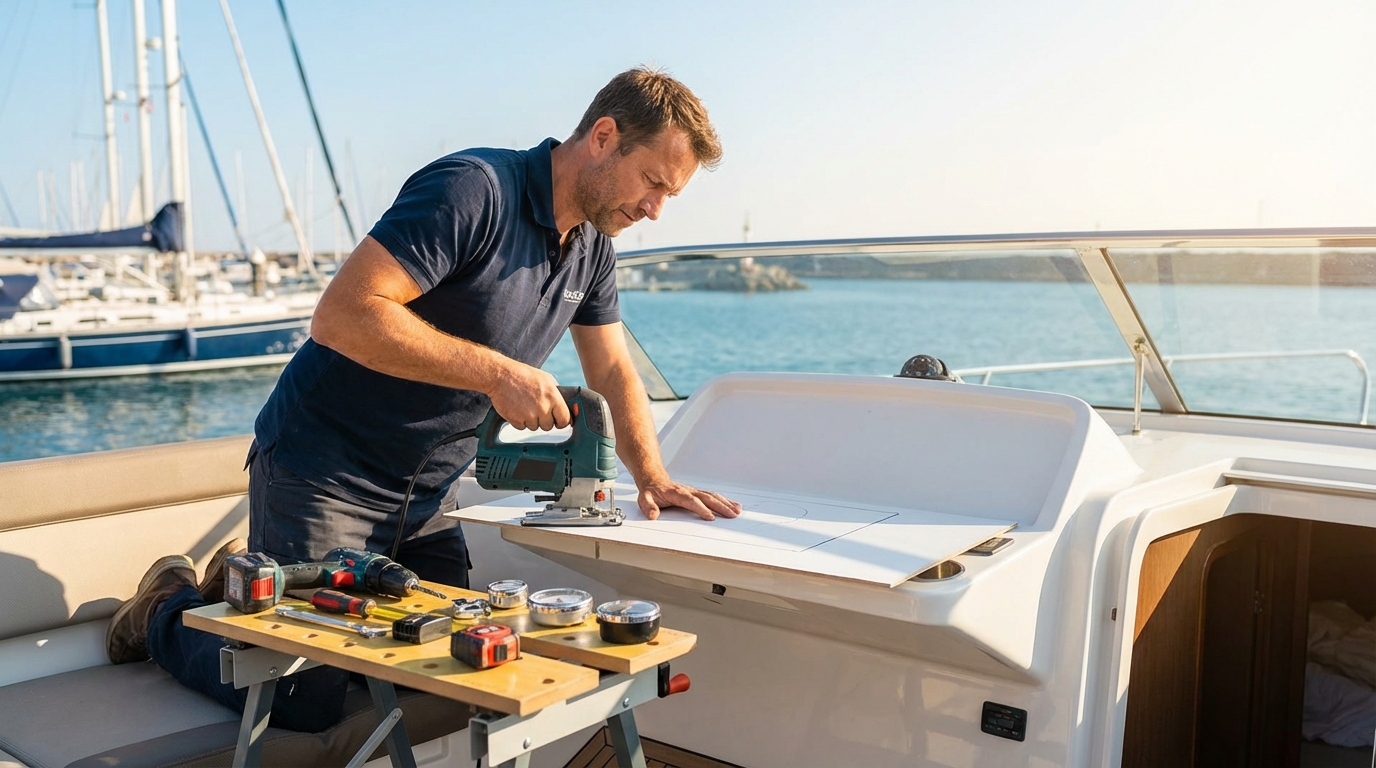
Drilling your boat’s console requires a template and high-speed drill bits to avoid cracking the fiberglass gelcoat. Most new radios come with a paper template in the box. Tape this template to your chosen spot using blue painter’s tape, which prevents the fiberglass from chipping as you cut.
- Mark the corners: Use a small drill bit to create pilot holes at the corners indicated on the template.
- Apply protection: Cover the entire area with painter’s tape to protect the finish.
- Cut the opening: Use a jigsaw with a fine-toothed blade or a rotary tool to follow the lines of the template.
- Smooth the edges: Use a medium-grit sandpaper or a hand file to remove burrs from the cut edges.
- Test fit: Slide the radio into the hole to ensure it sits flush before applying any sealant.
If you are mounting into a dashboard made of aluminum or starboard, the process is similar, but you may need different drill bits. For fiberglass boats, always run your drill in reverse for a second when starting the hole to “score” the gelcoat, which reduces the risk of large cracks forming. Reference these detailed marine radio reviews to ensure your chosen unit fits the physical dimensions of your specific dashboard layout.
Powering Your Marine VHF Radio with Dedicated Circuitry
Marine-grade tinned copper wire is necessary for VHF installations to prevent corrosion and maintain consistent voltage delivery. You should never use standard automotive wire, as the humid, salty environment will cause it to oxidize rapidly. A fixed-mount radio typically pulls about 5 to 6 amps during high-power (25-watt) transmissions, so your wiring must handle this load without a significant voltage drop.
- Wire Gauge: Use 14-AWG or 12-AWG wire for most runs under 20 feet.
- Fuse Protection: Install an in-line fuse (usually 6-amp or 10-amp) as close to the battery or bus bar as possible.
- Direct Connection: While you can connect to a general accessory panel, a direct run to the battery or a dedicated electronics bus bar reduces electronic “noise” from other equipment.
- Terminal Connections: Use heat-shrink ring terminals for all connections to ensure they remain airtight and vibration-resistant.
The best fixed-mount VHF marine radios include a power cable with an integrated fuse holder. Do not bypass this fuse. If you need to extend the power leads, use a butt connector with built-in heat shrink and adhesive lining. This creates a waterproof seal that prevents “wicking,” where moisture travels up the inside of the wire insulation.
Routing Coaxial Cable through the Vessel Structure
Routing coaxial cable through a boat requires smooth bends and protective grommets to maintain signal integrity. You should avoid sharp 90-degree turns, as these can damage the internal dielectric of the cable and cause signal loss. Use a “fish tape” or an old piece of stiff wire to pull the cable through tight chases or under the gunwales.
When pulling the cable, never pull by the connector. If the cable already has a PL-259 connector attached, you may need to drill a 3/4-inch hole to pass it through. If you are comfortable installing the connector yourself, you can pull the bare cable through a much smaller 1/4-inch hole and attach the connector afterward.
Coaxial Cable Comparison for Marine Use:
- RG-58: Standard for short runs (under 20 feet). Thin and easy to route but has higher signal loss.
- RG-8X: The “sweet spot” for most mid-sized boats. It is thicker than RG-58 but offers much lower signal loss over 20-50 feet.
- RG-213: Heavy-duty cable for long runs on large yachts. Very low loss but difficult to route through tight spaces.
Secure the cable every 18 inches using UV-resistant cable ties. Do not overtighten the ties, as crushing the cable changes its impedance and ruins your radio’s performance. Leave a small “drip loop” just before the cable enters the radio or the antenna base so that rainwater runs off the wire rather than into the connection.
Installing the PL-259 Connector for a Reliable Signal
Soldering a PL-259 connector ensures a permanent, low-resistance bond between the antenna cable and the radio unit. While “solderless” connectors exist and are easier to install, they often fail after a few seasons of vibration and salt air. A proper solder joint provides the most reliable connection for critical safety equipment.
To install a connector:
- Strip the outer jacket: Remove about 1 inch of the outer insulation without nicking the braided shield.
- Fold back the shield: Pull the braid back over the outer jacket.
- Strip the center conductor: Remove 5/8 of an inch of the inner insulation to expose the copper core.
- Tin the components: Apply a small amount of solder to the center conductor and the connector tip.
- Thread and solder: Screw the connector body onto the cable and apply heat to the tip until the solder flows smoothly into the joint.
A common mistake is allowing a single strand of the braided shield to touch the center conductor. This creates a “short,” which will prevent the radio from transmitting and can potentially damage the internal power amplifier. Always use a multimeter to check for continuity between the center pin and the outer shell before plugging it into your radio. For more technical tips, check out this guide on installing a fixed-mount marine VHF radio from Boating Magazine.
Mounting the Marine Antenna for Maximum Communication Range
Mounting a marine antenna at the highest possible point on your vessel maximizes the radio’s effective communication range. Because VHF signals move in a straight line, the curvature of the earth eventually blocks the signal. Raising the antenna just a few feet can add miles to your “radio horizon.”
For powerboats, a 6-foot or 8-foot fiberglass antenna is standard. These are usually mounted on a “ratchet mount” that allows the antenna to be lowered when passing under bridges or during trailering. Ensure the mount is bolted through the deck or hardtop with a stainless steel backing plate to distribute the stress of the antenna whipping in high winds.
| Vessel Type | Recommended Antenna | Mounting Strategy |
|---|---|---|
| Small Center Console | 8-foot 6dB Gain | Ratchet mount on top of the T-top or console side. |
| Sailboat | 3-foot 3dB Gain | Stainless steel whip mounted at the top of the mast. |
| Bass Boat | 4-foot 3dB Gain | Rail mount or side-deck mount to keep profile low. |
| Cruiser/Yacht | Dual 8-foot 9dB Gain | Mounted on the flybridge or radar arch for max height. |
Avoid mounting the antenna directly next to other vertical metal objects like outriggers or GPS masts. These objects can distort the signal pattern, creating “dead spots” where your radio won’t transmit effectively. Maintain at least three feet of separation from other antennas whenever possible.
Integrating GPS Data for Digital Selective Calling (DSC)
Integrating GPS data into your VHF radio enables the Digital Selective Calling (DSC) features used in emergency distress signals. When you press the red “Distress” button, the radio transmits your exact latitude and longitude to the Coast Guard and nearby vessels. Without a GPS feed, the radio will only send a generic distress call without your location, significantly slowing down rescue efforts.
Modern VHF radios often come with an internal GPS receiver. However, if your radio is mounted inside a metal cabin or deep in a console, it may not get a clear signal. In these cases, you must connect the radio to your boat’s external GPS or Chartplotter using NMEA 0183 or NMEA 2000 protocols.
NMEA Connection Methods:
- NMEA 2000 (Plug-and-Play): Uses a standardized “backbone” cable. You simply plug the radio into a T-connector on the network. This is the modern standard for 2026.
- NMEA 0183 (Bare Wire): Requires splicing four small wires (Transmit +, Transmit -, Receive +, Receive -). You must match the colors according to the manufacturer’s manual, which often vary between brands.
Check your manufacturer’s instructions for the specific wiring diagram. If using NMEA 0183, you will likely need to set the “Baud Rate” on your chartplotter to 4800 or 38400 to match the radio’s input settings.
Grounding the VHF Radio to Reduce Interference
Grounding the VHF radio casing reduces radio frequency interference and improves the clarity of your voice transmissions. Most high-end radios have a small grounding stud on the back of the chassis. Connecting this to the boat’s common grounding block helps drain away static electricity and “RF noise” generated by the engine’s alternator or ignition system.
Use a braided tinned copper strap for the best results, as flat straps handle high-frequency interference better than round wires. If you notice a “whining” sound in your speaker that changes pitch with the engine RPM, you likely have an interference issue.
Steps to Minimize Electronic Noise:
- Separate Cables: Do not zip-tie your VHF antenna cable to the engine’s spark plug wires or alternator leads.
- Twist Power Leads: Gently twisting the positive and negative power wires together can help cancel out electromagnetic interference (EMI).
- Use Ferrite Beads: Snap-on ferrite cores placed near the radio’s power input can block high-frequency noise.
- Dedicated Battery: If noise persists, try powering the radio from a separate house battery rather than the engine cranking battery.
Clear communication is vital when you are far from shore. Reducing background hiss ensures that you can hear weak signals from distant stations or the Coast Guard.
Weatherproofing Every External Connection and Entry Point
Weatherproofing every external connection prevents moisture from entering the coaxial cable and ruining the antenna system. Coaxial cable acts like a straw; if water enters one end, it can travel feet down the cable through “capillary action,” corroding the copper and destroying the signal-carrying capabilities.
When the antenna cable passes through a deck or cabin roof, use a dedicated “cable clam” or a chrome-plated brass “deck lead-through.” These fittings use a rubber grommet that compresses around the cable to create a watertight seal. Never rely on silicone sealant alone for a hole in a horizontal surface, as it will eventually shrink and leak.
- Self-Vulcanizing Tape: Wrap all outdoor PL-259 connections with self-fusing rubber tape. It creates a solid waterproof mass that doesn’t get brittle in the sun.
- Dielectric Grease: Apply a small dab of non-conductive grease to the internal pins of connectors to prevent oxidation.
- Heat Shrink: Use “marine grade” heat shrink with an internal adhesive lining for all wire splices.
- Drip Loops: Always ensure the cable curves downward before entering a fitting so water falls off the bottom of the curve rather than following the wire inside.
According to these resources for installing a VHF marine radio, proper sealing is the most overlooked step by DIY installers. Taking ten extra minutes to seal your connections can add years to the lifespan of your electronics.
Registering and Programming Your MMSI Number
Registering a Maritime Mobile Service Identity (MMSI) number is the final step to activate the automated distress features of your radio. An MMSI is a unique nine-digit number that identifies your vessel, much like a phone number. When you program this number into your radio, it becomes linked to your emergency contact information and vessel description in the national database.
In the United States, you can obtain an MMSI through BoatUS, Sea Tow, or the FCC. If you plan on traveling to international ports (including the Bahamas or Canada), you must obtain your MMSI through the FCC as part of a Ship Station License.
MMSI Registration Details:
- Domestic Use Only: Use BoatUS or Sea Tow (usually free or low cost for members).
- International Use: You must apply through the FCC (requires a fee).
- Ownership Transfer: If you buy a used boat with a VHF already installed, you must have the previous owner “release” the MMSI so you can register it in your name.
Most radios only allow you to enter the MMSI number once or twice manually. If you make a mistake, you may have to send the unit back to the manufacturer to have the memory cleared. Double-check every digit before hitting the “Save” or “Enter” button.
Testing Your VHF Installation for Performance and Range
Testing your VHF installation with an SWR meter confirms that your antenna is broadcasting power efficiently rather than reflecting it. SWR stands for Standing Wave Ratio. A perfect system has an SWR of 1.1:1, while anything above 2.0:1 indicates a problem with your cable, connectors, or antenna that could damage the radio.
You can perform a basic test by performing a “Radio Check.” In the year 2026, most busy harbors have automated radio check systems on Channel 27 or 28. Simply key the mic and ask for a radio check; the system will record your voice and play it back to you, allowing you to hear exactly how you sound to others.
- Check Power: Verify the radio stays on when you transmit at 25 watts. If it dims or resets, your power wires are too thin or the battery is weak.
- Check Reception: Tune to a local NOAA weather channel. You should hear a clear broadcast from several miles away.
- Check DSC: Use the “DSC Test” function to call a friend’s MMSI. This confirms your GPS integration and digital logic are working without actually sending a distress signal.
Regularly performing these tests is a core part of boat maintenance. You should learn how to test a VHF radio properly before every offshore trip to ensure your lifeline to the shore is intact.
Common Installation Mistakes to Avoid
Avoiding common pitfalls during the installation phase will save you from intermittent signal issues and hardware failure later. Many new boaters treat VHF installation like a car stereo setup, but the marine environment is significantly more demanding due to salt, vibration, and extreme temperature swings.
- Using Automotive Fuses: Blade-style automotive fuses can corrode in a marine environment. Use glass tube fuses in waterproof holders or marine-rated breakers.
- Coiling Excess Cable: If your antenna cable is too long, do not coil the extra into a tight circle. This creates an inductor that can interfere with your signal. Instead, lay the excess in a long “S” pattern or a loose “figure eight.”
- Poor Grounding: Using the vessel’s fuel fill pipe as a ground is dangerous and can cause explosions. Always ground to the negative bus bar.
- Skipping the Backing Plate: Mounting an antenna directly to thin fiberglass will eventually cause the gelcoat to “spiderweb” or crack from the leverage of the antenna moving.
If you are unsure about your installation, it is worth consulting a professional marine electronics installer. However, by following these steps carefully, most DIY boaters can achieve a professional-grade result that provides years of reliable service.
Maintaining Your VHF System for Long-Term Reliability
Routine maintenance of your VHF system ensures that it will function perfectly during the one moment you actually need it in an emergency. Salt buildup can occur even on “waterproof” units, and the vibrations of a boat at cruise can loosen even the tightest connections. Set a schedule to inspect your hardware at the beginning of every season.
| Component | Maintenance Action | Frequency |
|---|---|---|
| Connectors | Inspect for green corrosion; re-apply dielectric grease. | Every 6 Months |
| Antenna Base | Check for loose bolts; tighten the ratchet mount. | Every 3 Months |
| Power Wires | Check for “wicking” or heat at the fuse holder. | Annually |
| SWR Check | Re-test the antenna system with a meter. | Annually |
| Software | Check the manufacturer’s website for firmware updates. | Annually |
Wipe down the face of the radio with a damp cloth after every trip to remove salt spray. If your radio has a removable microphone, disconnect it and store it in a dry place during the off-season to prevent the coiled cord from losing its elasticity or the internal contacts from oxidizing.
FAQ
What is the difference between NMEA 0183 and NMEA 2000 for VHF?
NMEA 0183 is an older, serial data protocol that uses individual wires to transmit data at a slow speed, requiring manual splicing. NMEA 2000 is a modern, faster, plug-and-play network system that uses standardized 5-pin connectors to share GPS and engine data across all devices on your boat.
Can I install a VHF antenna on my T-top myself?
Yes, you can install a VHF antenna on a T-top by using a stainless steel ratchet mount and bolting it through the aluminum or fiberglass surface. You must ensure you use a backing plate or large washers to distribute the weight and use a cable grommet to prevent water from entering the T-top frame.
Why does my VHF radio lose power when I try to talk?
This is usually caused by a “voltage drop,” which happens when your power wires are too thin or have a loose, corroded connection. When you press the talk button, the radio draws more current (amps), and if the wiring can’t handle it, the voltage drops below the radio’s operating limit, causing it to shut down.
Do I really need an SWR meter for a basic installation?
While not strictly required for the radio to “turn on,” an SWR meter is the only way to know if your antenna is actually working correctly. A bad antenna can “sound” okay on a close-range test but fail to reach anyone more than a mile away, and a high SWR can eventually burn out the radio’s internal components.
How high should I mount my VHF antenna?
You should mount your antenna as high as safely possible, as VHF range is determined by the “line of sight” between your antenna and the receiving station. For every foot you raise your antenna, you significantly increase the distance the signal can travel before it is blocked by the horizon.
Achieving Professional Communication Results
Successfully installing a VHF marine radio is a milestone for any boat owner, as it transitions your vessel from a simple recreational craft to a properly equipped marine machine. The difference between a “working” radio and a “reliable” radio lies entirely in the details: the quality of your solder joints, the height of your antenna, and the integrity of your power source. By following a methodical approach—selecting the right location, using marine-grade materials, and integrating modern GPS safety features—you ensure that you are never truly alone on the water.
Your radio is more than just a tool for chatting with friends; it is your primary link to the United States Coast Guard and a global network of mariners ready to assist in an emergency. In the first quarter of 2026, technology has made these units more powerful and easier to use than ever before, but the physics of radio waves remains the same. Prioritize antenna height and clean electrical connections, and your VHF system will provide the peace of mind you need to explore new horizons with confidence.
📅 Last updated: