

The Lowrance Hook2 series is designed as a “plug-and-play” fishfinder that uses autotuning sonar to eliminate the need for manual adjustments while you are on the water. To get started immediately, power on the device using the dedicated power key, select your language, and ensure the unit is in “Auto” mode to allow the software to calibrate sensitivity and clutter rejection based on water depth and clarity.
Key Takeaways for Hook2 Operation
Operating the Hook2 effectively requires understanding that the unit does most of the heavy lifting for you. Unlike older sonar units that required constant fiddling with gain and frequency, the Hook2 uses wide-angle CHIRP sonar to provide double the coverage area of traditional fishfinders.
Lowrance Hook2 Accessories

TUSITA 000-14170-001 Quick Release Bracket Compatible with Lowrance 4" 5" Fishfinder
TUSITA 000-14170-001 Quick Release Bracket Compatible with Lowrance 4" 5" Fishfinder
VIEW LATEST PRICE
TUSITA Gimbal Mounting Bracket and Knobs Compatible with Lowrance HOOK2 Reveal 9 | Eagle Eye Fishfinder, 000-14171-001
TUSITA Gimbal Mounting Bracket and Knobs Compatible with Lowrance HOOK2 Reveal 9…
VIEW LATEST PRICE
Lowrance 000-11020-001 Gimbal Mounting Bracket with Knobs for 9" Touchscreen Fish Finders, Black
Lowrance 000-11020-001 Gimbal Mounting Bracket with Knobs for 9" Touchscreen Fish Finders,…
VIEW LATEST PRICE| Feature | Function | Benefit |
|---|---|---|
| Autotuning Sonar | Automatically adjusts settings | Focus on fishing, not menus |
| Wide-Angle CHIRP | 44-degree cone (Bullet transducer) | See more fish in less time |
| TripleShot 3-in-1 | High CHIRP, SideScan, DownScan | Full 180-degree view |
| SolarMAX Display | High-resolution screen | Clear view in direct sunlight |
Understanding the Physical Controls and Keypad
The Lowrance Hook2 features a simplified keypad designed for one-handed operation, even in rough conditions. Every button has a specific purpose that reduces the time you spend navigating through layers of software.
The Pages Key is the most frequently used button on the device. It brings up the Home screen, where you can select between Sonar, DownScan, SideScan, and Chart views. On larger models like the Hook2 7 or 9, this key also allows you to configure split-screen views.
The Arrow Keys serve a dual purpose. While on a sonar page, they move the cursor to highlight specific targets or structures. When navigating menus, they move the selection box. The Enter Key confirms selections, while the Exit (X) Key moves you back one step or clears a cursor from the screen.
The Power/Light Key is more than just an on/off switch. A short press brings up the “Quick Access” menu, allowing you to adjust screen brightness or toggle standby mode. In a boat environment, managing brightness is essential for battery conservation, especially if you are using a portable power pack.
Initial Startup and System Configuration
When you first power on your Hook2, the system will prompt you through a setup wizard. This process ensures the unit knows which transducer is connected and what units of measurement (feet vs. meters, Fahrenheit vs. Celsius) you prefer.
Always check that the correct transducer is selected in the system menu. If you have a Hook2 4x Sonar model, the unit defaults to the Bullet transducer. If you use a TripleShot transducer on a 7-inch model but the software thinks it is a SplitShot, you will lose access to SideScan functionality.
During this initial phase, ensure your power source is stable. The Hook2 requires a 12V DC system. If you are wiring this into a larger boat network, consider the proximity to your VHF marine radio to avoid electromagnetic interference that can cause “noise” on the sonar screen.
Navigating the Home Screen and Page Selection
The Home screen is your central hub. It is organized into icons representing the different “apps” or views available on your specific model. The Hook2 4x is limited to basic sonar and GPS plotting (on the GPS model), while the Hook2 5 and larger units offer full mapping.
To switch views, press the Pages Key, use the arrows to highlight the desired icon, and press Enter. If you want to view sonar and the map simultaneously, look for the “Split” icons. These predefined layouts are the most efficient way to track your position while watching for fish.
For those using the unit for the first time, stick to the full-screen sonar view. This gives you the highest resolution and the longest history of what has passed under the boat. As you become more comfortable, you can start using the Essential Items For Your Boat Box to store quick-reference charts or manuals for these menu paths.
Mastering the Autotuning Sonar Feature
The defining characteristic of the Hook2 is the autotuning sonar. Traditional units require you to increase sensitivity as you move into deeper water or decrease it when you encounter “clutter” (suspended particles, algae, or bubbles).
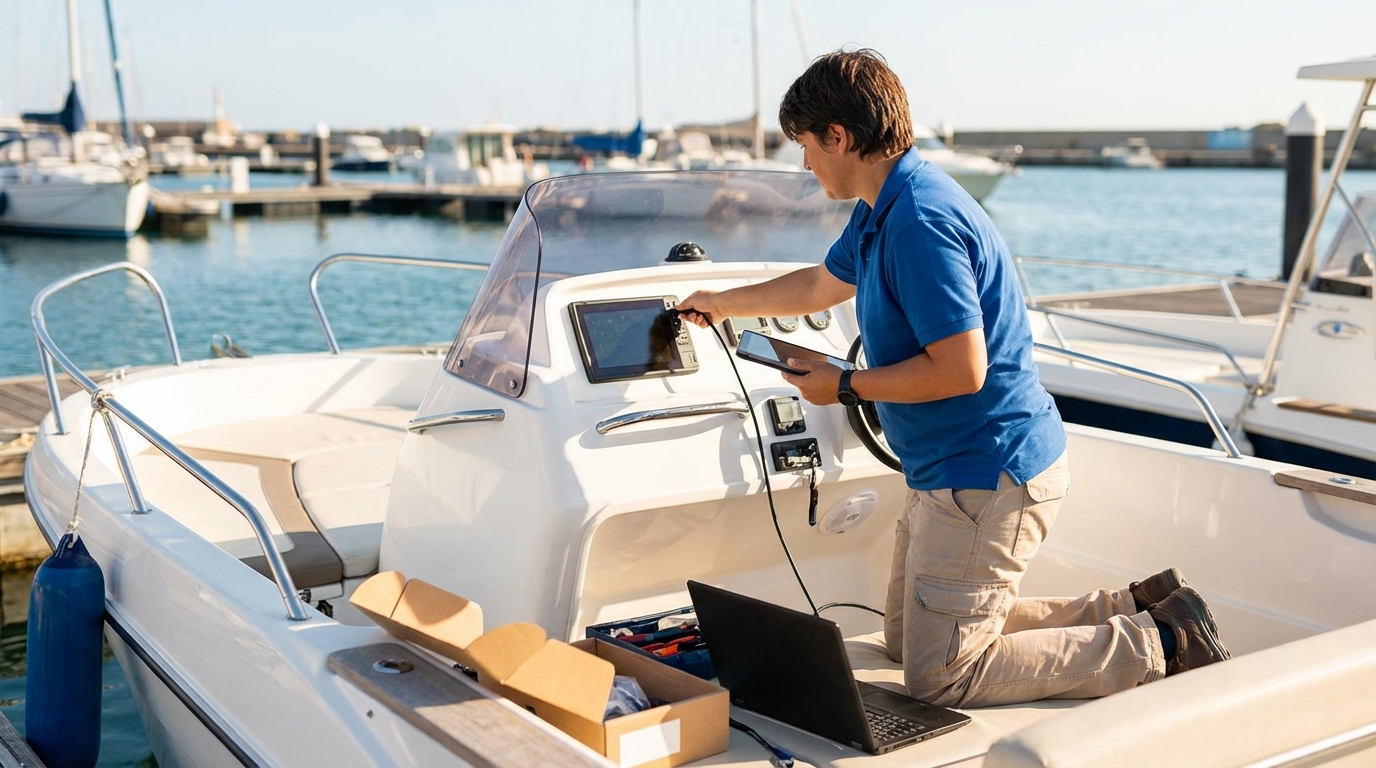
The Hook2 monitors return signals and adjusts these parameters in real-time. To ensure this is active, press Menu while on the sonar page and verify that Sensitivity is set to “Auto.” This allows the processor to filter out the surface noise caused by your boat’s wake while maintaining the clarity of the bottom signal.
However, “Auto” does not mean “perfect.” You can still apply an offset. If the screen looks too “busy” with dots and lines, you can adjust the auto-sensitivity to -2% or -4%. This keeps the unit in automatic mode but tells it to be slightly more aggressive with its filtering.
Manual Adjustments for Challenging Conditions
There are times when manual control is superior to autotuning. If you are fishing in extremely shallow water (less than 5 feet) or near thick vegetation, the autotuning software might get confused and lose the bottom lock.
In these scenarios, press Menu, select Sensitivity, and switch it to “Manual.” You can then use the slider to find the “sweet spot” where fish arches are visible but the screen isn’t covered in static. Another critical setting is the Colorline.
The Colorline (or Grayline in older units) helps you differentiate between a soft bottom (mud) and a hard bottom (rock or gravel). A hard bottom will show a wide, brightly colored band, while a soft bottom will be a thin, darker line. Mastering this allows you to find transition zones where predatory fish often hide.
Using GPS and Waypoint Management
The Hook2 series comes in two GPS flavors: “GPS Plotter” and “Chartplotter.” The 4x GPS models are plotters, meaning they show a white screen with your path and waypoints but no detailed map. The Hook2 5 and larger units are full Chartplotters that support C-MAP or Navionics cards.
To save a waypoint—a specific spot you want to return to—press the Enter Key twice quickly. This “quick-mark” feature is vital when you’re moving and see a school of fish. You don’t want to fumble through menus while the boat drifts off the spot.
Managing your waypoints is done through the Waypoints, Routes, and Trails menu on the Home screen. Here, you can rename waypoints (e.g., “Deep Brush Pile” or “Hidden Rock”) and change the icon to represent a fish, an anchor, or a hazard. If you are navigating large bodies of water, ensure your GPS has a clear view of the sky. Mounting the unit under a metal T-top may require an external antenna, though the internal antenna on the Hook2 is generally quite powerful.
Transducer Installation and Alignment
No amount of menu tweaking can fix a poorly installed transducer. The transducer must be submerged in “clean” water—water that is free of bubbles and turbulence.
- Placement: Mount the transducer on the starboard side of the transom if you have a clockwise-rotating propeller. This side typically has less turbulence.
- Angle: The transducer should be level with the waterline or tilted slightly forward (1–2 degrees). If it is tilted too far back, you will lose the signal when the boat gets on plane.
- Depth: It should sit about 1/8th of an inch below the hull of the boat.
If you find that your depth reading disappears as soon as you speed up, the transducer is likely mounted too high or is hitting “dirty” water from a hull strake or rivet. Adjusting the mounting bracket downward slightly usually solves the problem. For more on marine hardware, you might also be interested in how specialized marine binoculars can help you spot surface activity that your sonar might miss.
Interpreting Sonar Arches and DownScan Images
One of the biggest hurdles for new users is understanding what they are seeing on the screen. A fish does not look like a fish on standard sonar; it looks like an arch.
This arch is created because the sonar beam is a cone. As the boat moves over a fish, the distance between the transducer and the fish changes. It starts far away (the start of the arch), gets closest (the peak of the arch), and moves away again (the end of the arch). If the boat is stationary and the fish is stationary, you will see a flat line, not an arch.
DownScan Imaging provides a much more lifelike view. Instead of arches, you see “blobs” that more accurately represent the shape of a fish or a tree. This is why many anglers prefer the TripleShot models. While CHIRP sonar is best for finding fish, DownScan is best for identifying what kind of structure they are hiding in.
Customizing Overlay Data for Better Awareness
The Hook2 allows you to overlay digital data on top of your sonar or map. This is essential for monitoring your boat’s health and your fishing environment without switching screens.
To customize this, go to Menu > Settings > Overlay. You can add:
- Water Temperature: Vital for finding active fish in the spring or fall.
- Battery Voltage: Ensures you don’t run your starting battery too low.
- Time of Day: Helps you track “the bite” windows.
- Depth: Keep a large digital readout in the corner for quick reference.
Having these data points visible at all times reduces cognitive load. Just as you might use a Fusion marine radio to manage your boat’s entertainment, the Hook2 acts as the primary data interface for your underwater environment.
Troubleshooting Common Hook2 Issues
Even the most reliable electronics can encounter issues. Most Hook2 problems stem from power supply or transducer connections.
Problem: The unit won’t turn on.
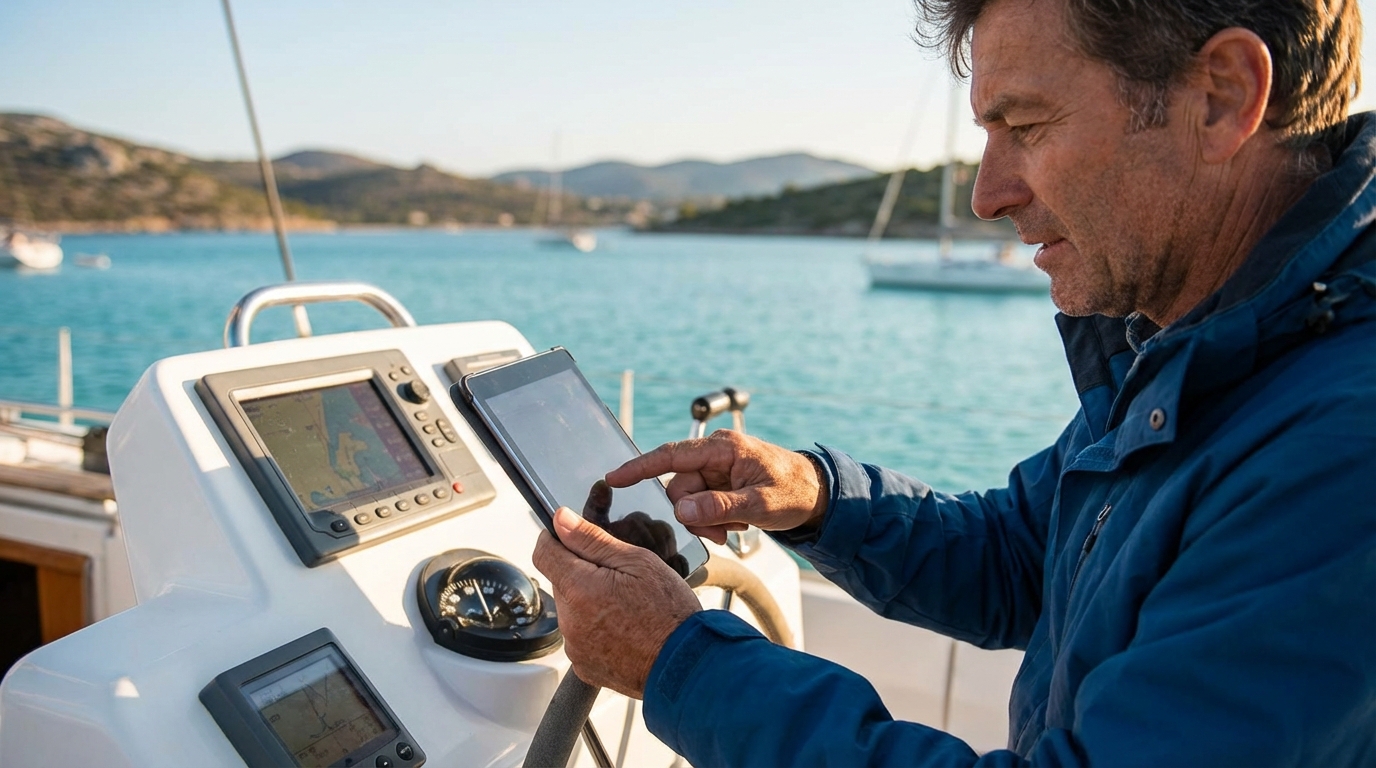
- Solution: Check the fuse on the power cable. Check for corrosion on the battery terminals. Ensure the power plug is pushed firmly into the back of the unit and locked.
Problem: The depth reading is flashing or incorrect.
- Solution: This usually happens in very shallow water or when the transducer is out of the water. If it happens in deep water, check for weeds or debris stuck to the bottom of the transducer. Ensure the unit is not in “Simulator” mode.
Problem: There is too much “noise” on the screen.
- Solution: This is often electrical interference. Ensure your sonar cables are not bundled tightly with your spark plug wires or VHF antenna cables. You can also increase the Noise Rejection setting in the sonar menu.
Maintenance and Long-Term Care
The marine environment is harsh. Saltwater, UV rays, and humidity all work against your electronics.
After every trip in saltwater, wipe down the Hook2 with a damp cloth and fresh water. Salt buildup can bridge the pins on the power connector, leading to short circuits. Use a dedicated screen cleaner or a mix of white vinegar and water to remove water spots from the display. Avoid using ammonia-based glass cleaners, as they can strip the anti-reflective coating off the SolarMAX screen.
During the off-season, remove the unit from the boat and store it in a cool, dry place. If you leave the mounting bracket on the boat, use a “cap” or a bit of electrical tape to protect the pins from the elements. Keeping your firmware updated is also crucial. Check the Lowrance website periodically; updates can improve the autotuning algorithms and fix bugs that cause system lag.
Maximizing Your Time on the Water
The Lowrance Hook2 is a tool designed to reduce the complexity of modern fishing. By trusting the autotuning sonar and focusing your efforts on interpreting the data rather than manipulating the settings, you significantly increase your chances of a successful outing.
The most important step for any new owner is to spend a few hours in “Simulator” mode while at home. This allows you to learn the menu structure without the pressure of driving the boat or looking for fish. Once you can navigate from the Sonar page to the Waypoint menu without looking at the buttons, you are ready to master any body of water.
Whether you are navigating through busy channels or enjoying a peaceful day on the lake, the Hook2 provides the situational awareness needed for both safety and sport. As your skills grow, you may find yourself integrating more accessories, but the core of your success will always be how well you understand the signals coming from beneath your hull.
**
📅 Last updated: